
Add custom fields
Custom fields work similar to rows in a table. You can add as many fields to your locations and routes as you like and fields can be of different types. You can use these to simply store and share additional information and/or to create beautiful map visualisations.
Add a new custom field
-
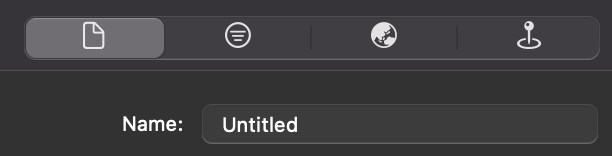
In the inspector panel located on the right of your Mac app, click the document icon to reveal the collection settings.
-
To add a new field to the collection, click the “+” button at the bottom left corner of the “Fields” section.

Alternatively, right-click in the dark area and select “New Field”.
-
Give the field a name and select a field type:
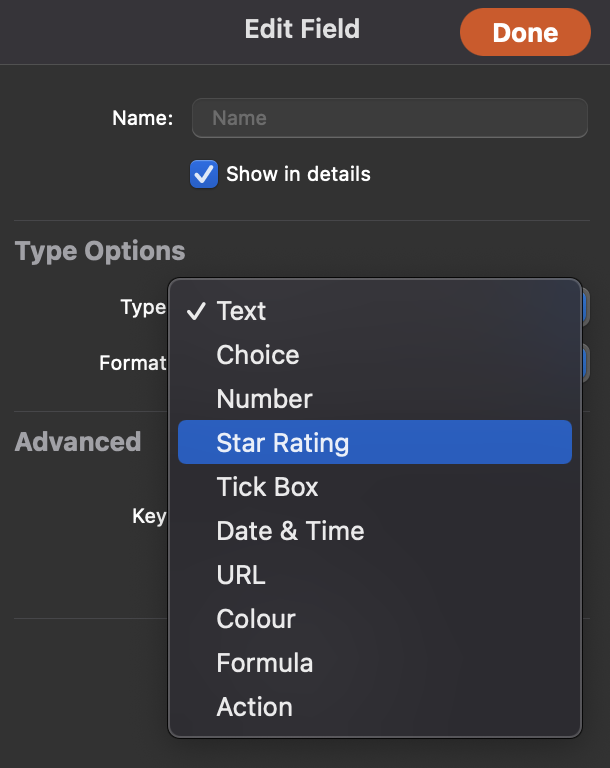
Each of these field types serve different functions and come with their own settings. Find an overview of all available fields and their descriptions on the fields page.
-
To save and add the new field, click “Done”.
-
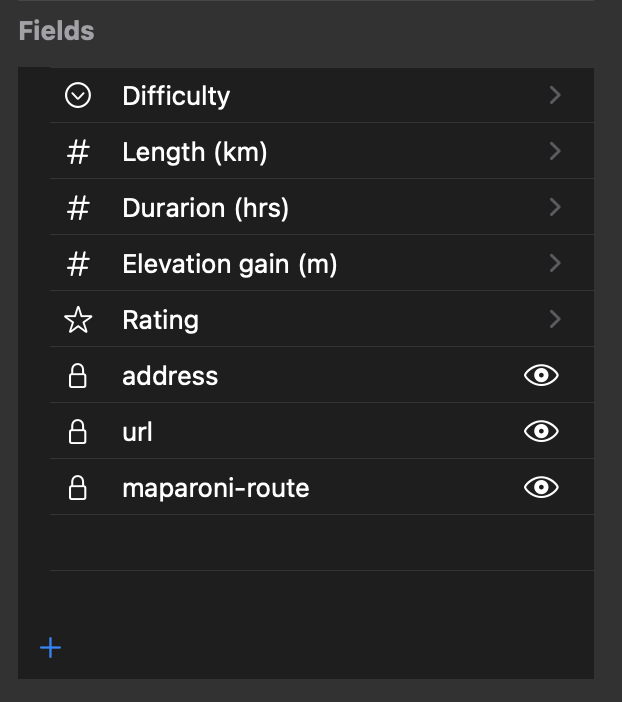
New fields will be listed in the Fields section:
- To edit a field: Click on a field to see the field properties. Click “Done” when finished to save the field.
- To delete a field: Right click on a field and select “Delete”. Alternatively, click on a field title and find the “Delete” button at the bottom of the properties. Some fields are part of the collection and cannot be deleted. They are marked by a lock icon, but their visibility can still be toggled on or off by clicking on the eye icon.
-
To view the new field in action, click on any of the location or routes inside your collection and open the inspector in the right panel. Fields are global to a collection and will be applied to all items that are inside it. Discover all fields and their functions on the fields page.